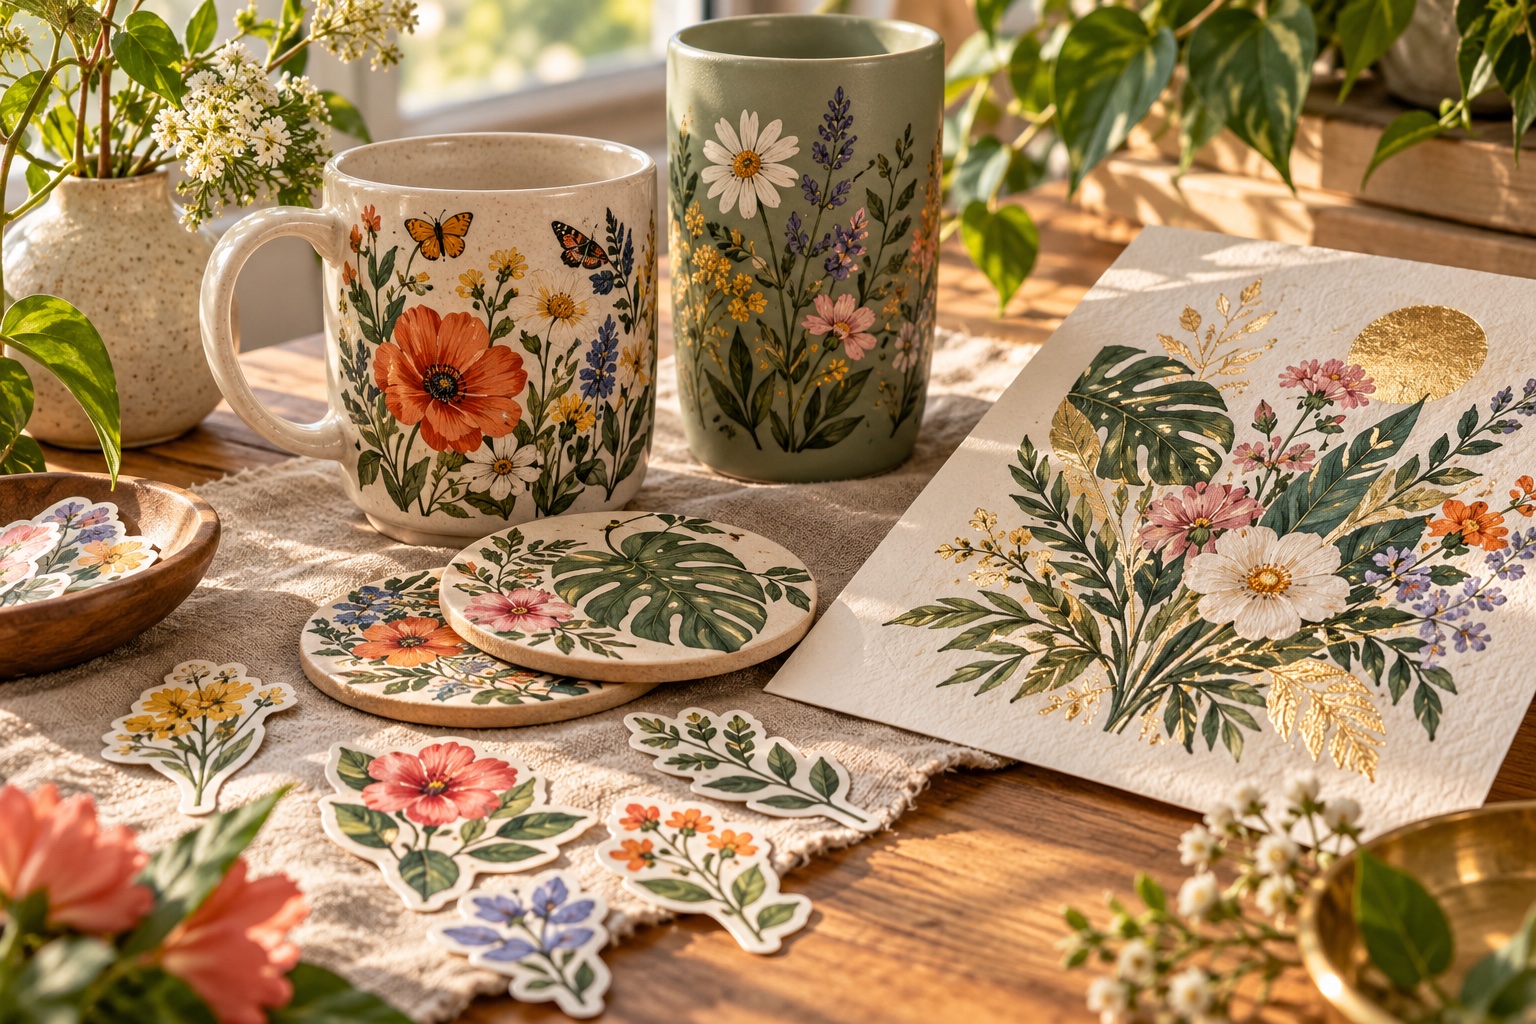
UV printing opens up a different kind of personalization: color on a surface, with the possibility of white layers, selective gloss, and texture. It is useful for artwork, names, and small runs of branded pieces.
Choose the surface first Acrylic, wood, metal, and other compatible blanks behave differently. Surface preparation and adhesion matter as much as the image. xTool’s O1 guidance notes that some materials need a primer or other preparation. A printed test on the actual blank is more useful than assuming all materials behave the same.
Design for the object Give us the usable print area and any holes, seams, curves, or raised edges. Keep essential lettering away from areas that may interfere with printing or trimming. A photograph of the blank and its dimensions help a custom quote.
Think about white and clear layers A white layer can help colors show on a dark or transparent surface. Clear varnish can create selective gloss or tactile effects, depending on the printer and workflow. Texture is a design choice: it should add something to the artwork rather than obscure fine details.
Know the exact printer and edition The eufyMake E1 is a UV printer with texture capabilities. The xTool O1 comes in different editions; fabric printing capabilities depend on the edition. UV direct printing and UV DTF transfers are different workflows, so specify which outcome you want.
Bring the artwork and the use case Share your image at its original resolution, the intended object, quantity, and how the finished piece will be handled. We’ll discuss preparation, finish, and care as part of the project.
This overview draws on manufacturer guidance. It does not claim that BentoBox has tested every material or owns every machine discussed.